Service centers and cutting lines
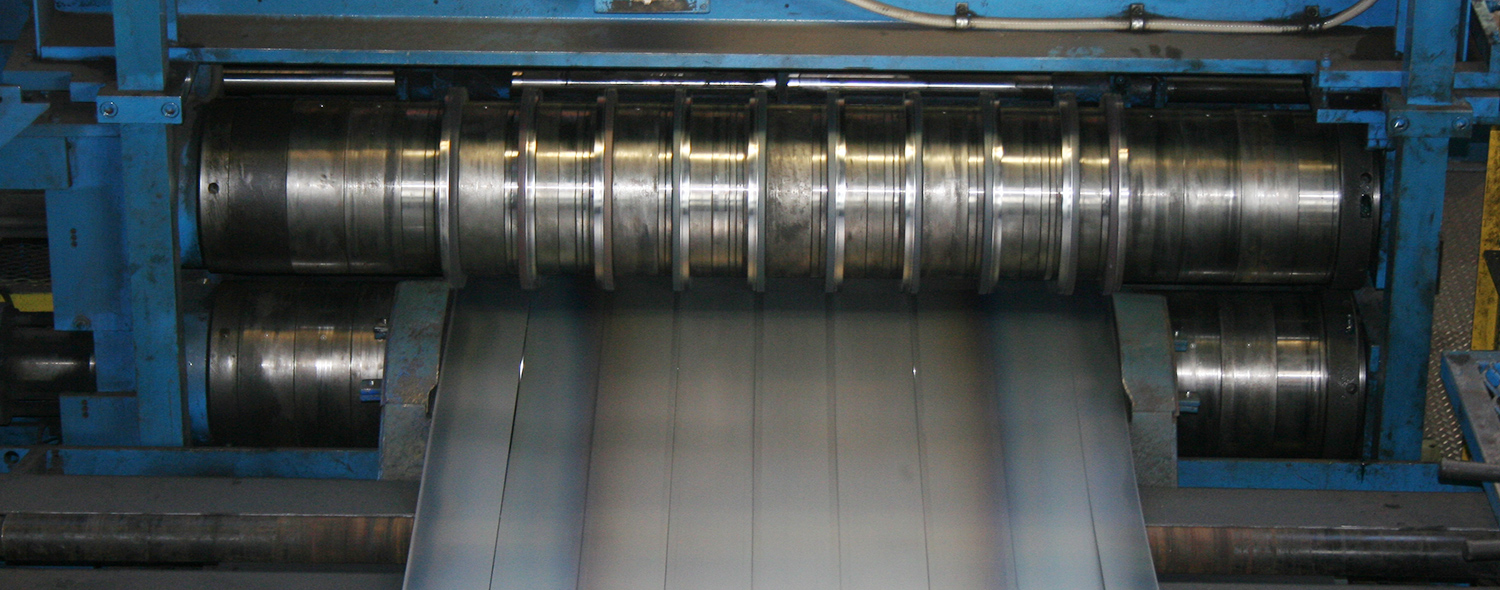
In cutting lines such as slitting shears and cut-to-length shears, final quality control of the material to be supplied is an advantage. In addition to deciding whether the cut sheet or cut ring meets the requirements, the measuring systems from Micro-Epsilon also allow complete documentation and logging of the production. For measurements in front of the knife, the powerful software enables the evaluation and documentation of the individual strips.
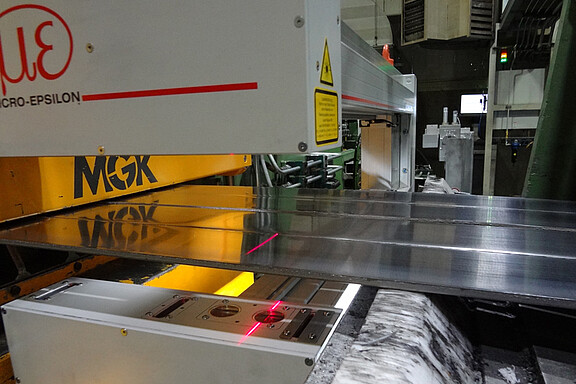
One of the advantages of the C- and O-frame measuring systems of the thicknessCONTROL MTS 8201/8202 series becomes particularly clear in this area. The high lateral resolution of discrete laser lines enables both thickness measurements as well as width and cambering detection.

Characteristics
- Geometric measurement not influenced by the material
- Fully automatic calibration
- Detection and compensation of tilt
- High lateral resolution enables combined thickness and width measurement
- Detection of the individual strips in slitting shears
- Comprehensive analysis software with numerous diagrams for cross profiles, longitudinal profiles, SPC analysis and false color display
- O-frame design, in contrast to the C-frame, requires hardly any space next to the strip processing line
Thickness measurement and measurement of width and cambering with the thicknessCONTROL MTS 8202 C-frame system
Thanks to Micro-Epsilon's broad sensor portfolio, the thickness measuring systems can be customized for further measurement tasks or to compensate for influences on the mechanics due to temperature or mounting tolerances.
- Patented compensation of angular errors of the sensor system to the material
- Measurement of cambering with integrated optical micrometers
- Material widths up to 1000 mm with C-frame and 3000 mm with O-frame
- Independent of surface, material and alloy
- Synchronized calibration for all measured variables in seconds


